Introduction to image filtering with Rmagine
Source:vignettes/Rmagine-vignette.Rmd
Rmagine-vignette.RmdThis document introduces you to Rmagine’s image filter functions, and shows you how to apply them to images.
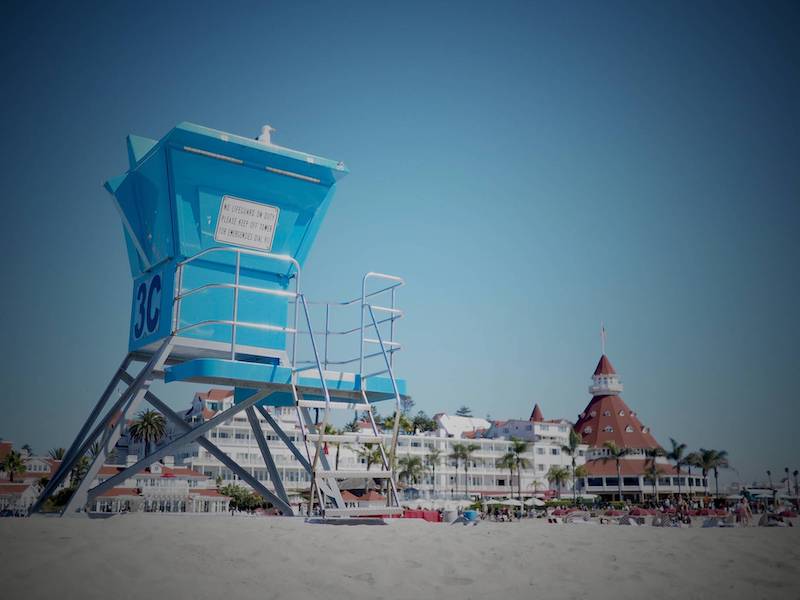
Here’s an example photo we’ll be using taken at Coronado Beach, San Diego: 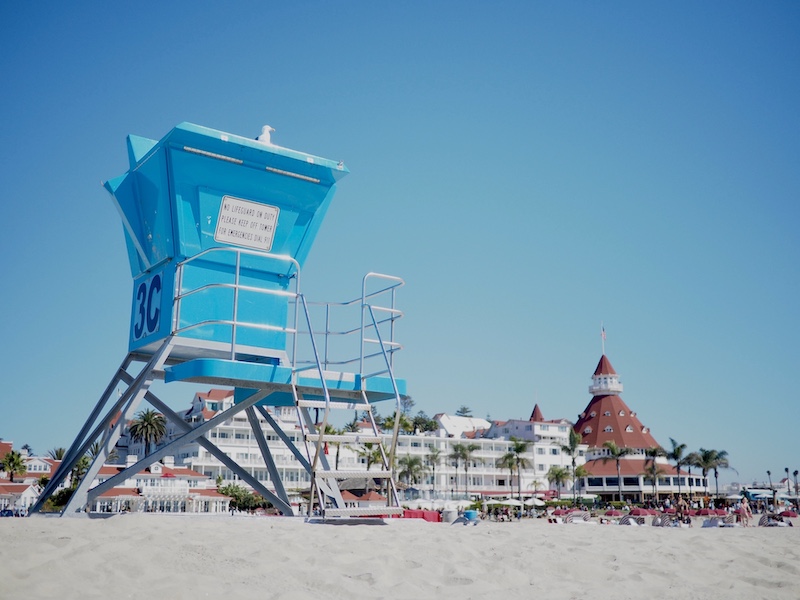
Using the Tunnel Filter
This function produces an image with strong visual distortion intended to create a tunnel or pincushion effect.

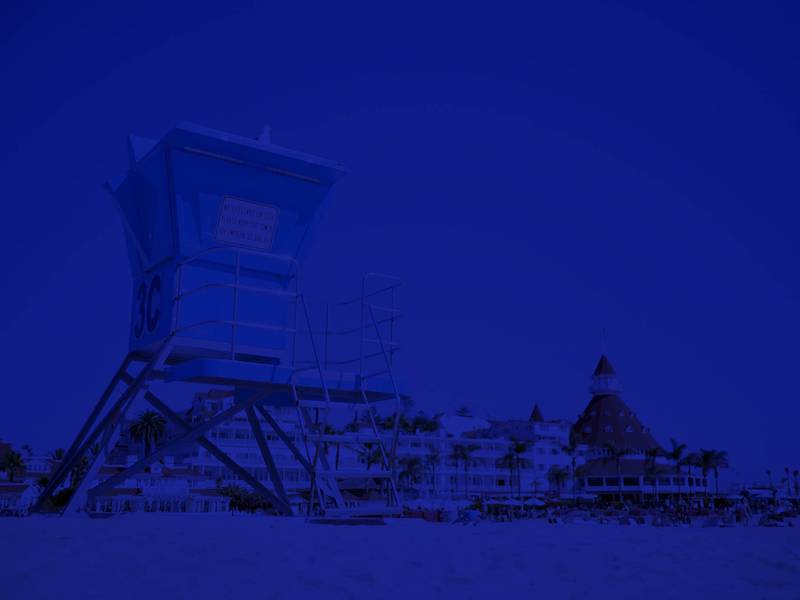
Using Colour Filters
This function produces an image with different user-specified colour distortions.
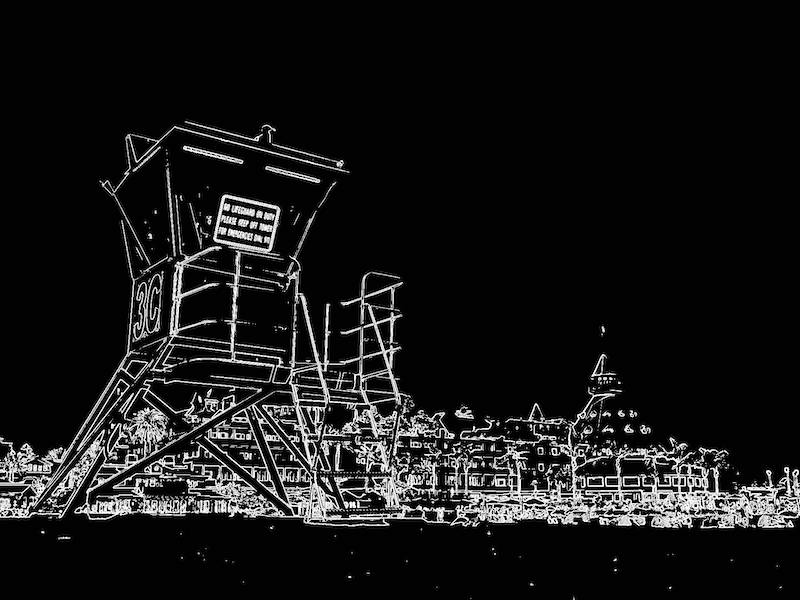
Using the Edge Detection Filter
This function identifies edges by looking at where the image brightness changes sharply, and produces a black and white image highlighting the locations of these edges.
Using the Vignetting Filter
This function produces an image with reduced brightness around the periphery compared to the image center.
Arguments
-
image_path: file path of the input image (string) -
strength: parameter for strength of the dimming effect (double, optional). If not specified, defaults to 1.0