![]()

The goal of rimgtool is to perform image processing in R.
Team Members
| Name | Github |
|---|---|
| Ruidan Ni | rita-ni |
| Frank Lu | Frank Lu |
| Kexin Zhao | Margaret8521 |
Package Overview
rimgtool is a R package that is intended to allow users to compress, sharpen and crop an input image. Our package only allows the input image to be a 3D vector and output the manipulated image as a 3D numpy array. It contains three functions: compress(), sharpen(), and crop().
Feature Description
-
compress:- This function quantizes an image by restricting each pixel to only take on one of the desired colour values and return a version of the image (the same size as the original) where each pixel’s original colour is replaced with the nearest prototype colour.
-
sharpen:- This function enhances the edges in the image and returns a sharper-looking image. At this moment, this function is restricted to gray-scale images only
-
crop:- A function that removes border pixels for image croping until the desired width and height are reached.
Installation
You can install the development version from GitHub with:
# install.packages("devtools")
devtools::install_github("UBC-MDS/rimgtool")Usage
| Task | After import rimgtool
|
|---|---|
| Compress an image to include 2^4 = 16 colors | rimgtool.compress(image, 4L) |
| Sharpen an image by detecting and enhancing the edges | rimgtool.sharpen(image) |
| crop an image to desired width and height | rimgtool.crop(image, 20, 20) |
Usage scenario
First, we should load the rimgtool library:
We are going to use butterfly.jpg image which is in the img folder of this repository for illustration.

We can apply the compress function: compress(image, 4L)
library(jpeg) # install.packages('jpeg')
library(OpenImageR) # install.packages('OpenImageR')
img <- jpeg::readJPEG("img/butterfly.jpg")
jpeg::writeJPEG(compress(img, 4L), target = 'img/compress.jpeg')

We can also apply the crop function:
jpeg::writeJPEG(crop(img, 400, 400), target = 'img/crop.jpeg')
We can also apply the sharpen function: sharpen(image)
# install.packages('jpeg')
library(jpeg)
img <- jpeg::readJPEG("img/free-wallpaper.jpg")
jpeg::writeJPEG(sharpen(img), target = 'img/sharpened.jpeg')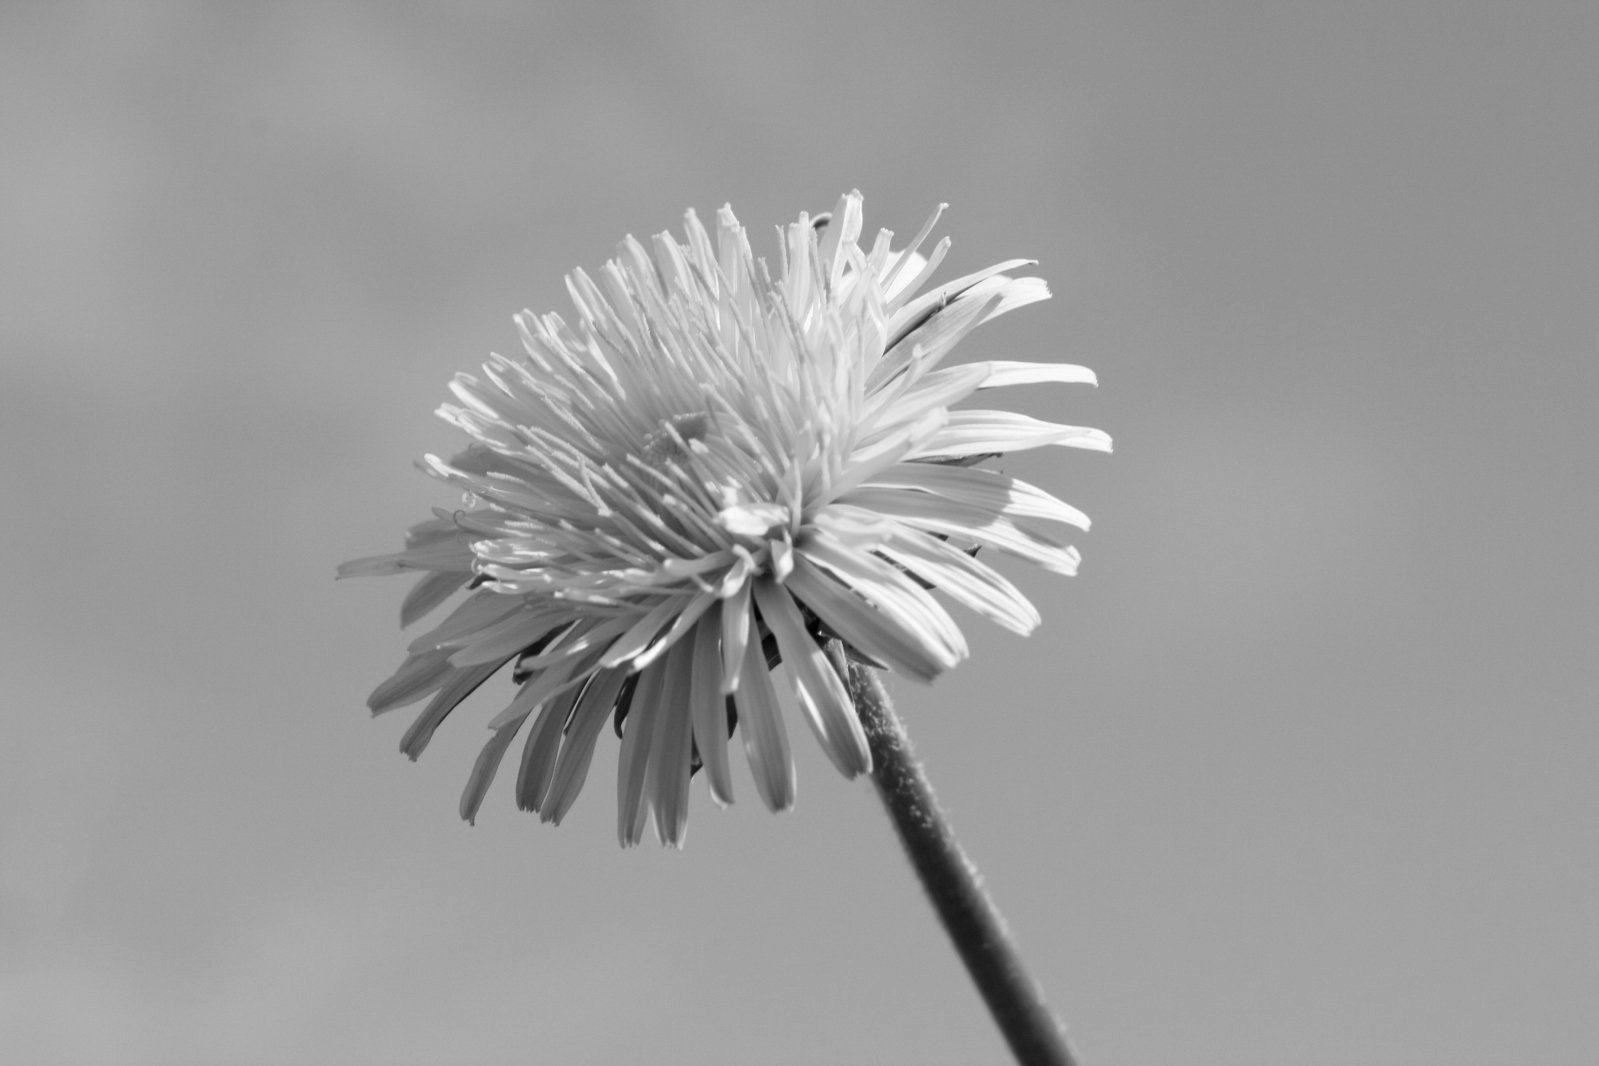

-
sharpencan be used to enhance the edges in a picture so that the details can stand out. Displayed above, the photo on the left-hand side is before sharpening, and the photo on the right-hand side is after sharpening. As the details are enhanced by our sharpening function, the center portion of the flower look more focused.
The documentation is hosted on pkgdown, and you can also refer to our project vignette.