```{r}
3 + 4
```[1] 7Platform in focus Positron
Positron is an integrated development environment (IDE) built by Posit, the same company that makes RStudio, and it is the editor we installed in the installation instructions.
The two IDEs you have already met each pick a side. JupyterLab is built around the Jupyter notebook and, in our setup, around Python. RStudio is built around R, its four panes, and the R console. In a program that teaches both languages, that means two editors, two sets of habits, and two places to look for a plot.
Positron’s pitch is that you do not have to choose. It has a console, a variables pane, a plots pane, and a help pane of the sort you know from RStudio, it opens .ipynb notebooks the way JupyterLab does, and it will start an R session or a Python session in the same window without you learning a second interface.
Underneath, Positron is built on the same open source foundation as Visual Studio Code. That is where its file explorer, command palette, git integration, keyboard shortcuts, and extensions come from. Everything data-science-shaped on top of that (the console, the variables pane, the data explorer, the plots pane, environment picker, etc) is what Posit added. We come back to what this means for VS Code itself at the end of this chapter.
Positron is free to use and its source code is public, but it is released under the Elastic License 2.0 rather than a conventional open source license like RStudio’s AGPL. The practical effect for you is none: you can download it, use it for coursework and for paid work, and keep using it after you leave.
Unlike JupyterLab and RStudio, there is no server you can log into to try Positron. It is a desktop application, and you run it on your own machine.
If you have already completed the installation instructions, you have Positron in your Applications folder (macOS) or Start menu (Windows), and you have run one extra step from those instructions:
Command Palette
Install 'positron' command in PATHThat step is what makes the positron command work in a terminal, which is how we will open things for the rest of the program.
If you skipped it, you can run it now. Open Positron, press Ctrl + Shift + P (Windows/Linux) or ⌘ + Shift + P (Mac) to open the Command Palette, start typing Install 'positron' command, and press Enter on the match.
You do not need to install extensions for Python, R, or Quarto. Positron already includes support for all three, and it bundles its own copy of the Quarto CLI to render documents with.
This is the one habit worth getting right before anything else, because almost every confusing thing that happens later traces back to getting it wrong.
Open the assignment folder. Do not open the assignment file.
Every assignment you get arrives as a folder. Inside it are a pyproject.toml and a uv.lock listing the packages that assignment needs, and, once you have run uv sync, a .venv directory holding them. That .venv is what Positron looks for to work out which Python to run, and it can only find it if it can see the folder it lives in.
There are two ways to open one:
File > Open Folder... and pick the assignment folder, orcd into the folder and run positron . (the . means “this folder”, which you will meet properly in MDS Software and Bash):Terminal
cd path/to/your/assignment
positron .
Opening a folder gets you, all at once:
data/penguins.csv that actually resolve,Opening a lone file gets you a text editor.
If you have used RStudio Projects, this is the same idea with a different name: Positron calls the open folder a workspace, and it plays the role .Rproj plays in RStudio. There is no extra file to create; the folder is the project.
If you launched JupyterLab with uv run jupyter lab, it is also the same idea: the folder you launch from is the folder you can see.
Positron’s window is made of seven regions. The names matter mostly because they are what the menus and the documentation call them.
| Region | Where it is | What is in it by default |
|---|---|---|
| Activity Bar | far left, a strip of icons | Explorer, Search, Source Control, Extensions |
| Primary Side Bar | left | whichever view the Activity Bar has selected, usually the file Explorer |
| Editor | centre | your open files |
| Panel | below the editor | the Console and the Terminal |
| Secondary Side Bar | right | the Session pane, holding Variables and Plots |
| Top Bar | above the editor | the interpreter picker, the project switcher, file search |
| Status Bar | bottom edge | the git branch, the language mode, the cursor position |
The Secondary Side Bar holds more than the Session pane. Its other tabs are Connections (databases), Help, History, and Viewer.
If you are arriving from RStudio, the same information is in the same four corners, under different names:
| RStudio calls it | Positron calls it |
|---|---|
| Source (top left) | Editor |
| Console (bottom left) | Console, in the Panel |
| Environment (top right) | Variables, in the Session pane |
| Plots (bottom right) | Plots, in the Session pane |
| Files (bottom right) | Explorer, in the Primary Side Bar |
| Git (top right) | Source Control, in the Activity Bar |
| Help (bottom right) | Help, in the Secondary Side Bar |
The arrangement above is Positron’s Stacked layout, which is the default. There are three others – Side-by-side, Notebook, and Assistant – and you can switch between them from the Command Palette by running > Customize Layout.... Side-by-side puts the editor and console next to each other rather than stacked, which suits a wide screen. Notebook shrinks everything that is not the editor.
Every pane can be dragged somewhere else, closed, or reopened. If you end up somewhere you did not mean to be, > Customize Layout... has a reset option at the bottom that puts the whole window back to defaults.
The interpreter picker lives in the top right of the window, and it is the single most useful thing on the screen. It tells you which language, which version, and which environment your Console is currently talking to.
Click the interpreter picker and choose New Console Session…, then pick a language. You can also click the + in the Console pane, or run Interpreter: Start New Console Session from the Command Palette.
You can have more than one session at a time – an R session and a Python session, side by side in the Console pane – and switch between them by clicking their names in the picker.
When you open a folder that has a .venv directory in it, Positron finds that virtual environment and offers it, usually already selected. That is exactly the folder uv sync creates:
Terminal
cd path/to/your/assignment
uv sync
positron .
After uv sync has run once, Positron’s picker will show something like Python 3.12.7 (.venv), and everything the assignment lists in pyproject.toml is importable in the Console.
uv run is for the Terminal, not for the Console.
The Console is already running the environment’s Python, so import pandas there just works. The Terminal is a plain shell in the same folder, so a command you type there still needs uv run in front of it: uv run quarto render report.qmd.
Two panes, sitting next to each other, with different rules. It is worth pausing on the difference now rather than being surprised by it later.
We come back to what uv is actually doing in Virtual Environments: uv.
R does not have a per-folder environment the way Python does, so Positron offers the R installations it can find on your machine. If the folder has an renv.lock and an renv/ directory, the R session picks up that project library on startup, the same way it does in RStudio. That is the subject of Virtual Environments: renv.
The restart button is in the Console’s action bar, or run Interpreter: Restart Active Interpreter Session from the Command Palette.
Restarting throws away every variable you have defined and starts the language over from nothing. That sounds destructive, and it is meant to be: it is how you check that your code works from a clean slate, rather than working only because of something you defined an hour ago and have since deleted. It is the same idea as “Restart and Run All” in a Jupyter notebook.
Nearly every problem at this stage is the same problem: Positron is not looking at the folder you think it is.
| What you see | What it means |
|---|---|
| The picker offers no Python for this project | You opened a file rather than a folder, or you have not run uv sync yet, so there is no .venv to find. |
ModuleNotFoundError although the package is in pyproject.toml |
The Console is running some other Python. Check the picker says .venv. |
| The Terminal starts in your home folder | Same thing: you opened a file rather than a folder. |
positron: command not found |
Run Install 'positron' command in PATH from the Command Palette, then open a new terminal. |
| A file you know exists cannot be found by your code | Your code’s idea of “here” is the folder you opened. Check the Explorer is showing the assignment. |
Positron runs code from scripts, from Jupyter notebooks, and from Quarto documents, and the keys are deliberately close to what you already know.
.R) and Python scripts (.py)Create one with File > New File..., or from the Explorer. Type your code, put the cursor on a line, and press Ctrl + Enter (Windows/Linux) or ⌘ + Enter (Mac). The line is sent to the Console, run there, and the cursor moves on. Select several lines first and the whole selection is sent.
This is the same key RStudio uses, doing the same thing. Two other RStudio habits survive the move: Alt + - inserts <-, and Ctrl + Shift + M / ⌘ + Shift + M inserts the pipe.
script.R
a <- 3
a^2
script.py
a = 3
a**2
A plain script has no cells, but you can add them with a comment, which turns a long script into something you can run in pieces:
script.py
# %%
import pandas as pd

# %%
penguins = pd.read_csv("data/penguins.csv")
penguins.head()
Positron draws a Run Cell button above each # %% and lets you run them with the cell shortcuts in the table below. The R equivalent is a comment line ending in four or more dashes: # load the data ----.
.ipynb)Positron has their own notebook editor: https://positron.posit.co/positron-notebook-editor.html
Notebooks open directly in the editor. You do not need to start JupyterLab, and you do not need uv run jupyter lab – the notebook runs against the same session the interpreter picker is showing.
Everything you learned about notebooks in JupyterLab Orientation still applies: cells are code or Markdown, Shift + Enter runs a cell and moves to the next one, execution counts tell you what ran in which order, and you should restart and run all before you hand anything in.
The differences are that the notebook is a tab in your editor alongside your scripts, and the variables you create show up in the same Variables pane as everything else.
.qmd)Quarto is the format this book is written in, and the one most of your work will be handed in as. A .qmd is prose with code chunks in it, the same shape as the RMarkdown files described in RStudio Orientation.
Insert a chunk with Ctrl + Shift + I (Windows/Linux) or ⌘ + Shift + I (Mac), and run it with Ctrl + Shift + Enter / ⌘ + Shift + Enter.
An R chunk, showing its own fence:
```{r}
3 + 4
```
[1] 7A Python chunk in the same document:
```{python}
3 + 4
```7To see the rendered document, press Ctrl + Shift + K (Windows/Linux) or ⌘ + Shift + K (Mac), or click the Preview button in the editor’s action bar. The result opens in the Viewer pane and updates as you save. This is Positron’s version of RStudio’s Knit button.
Positron ships with its own copy of the Quarto CLI, which is what the Preview button uses. The Quarto you installed from the MDS instructions is what quarto render uses in the Terminal. They are two copies of the same program, so they produce the same output. But, a Terminal render of a document with Python chunks still needs uv run in front of it, for the reason in the callout above.
| Do this | Windows/Linux | Mac |
|---|---|---|
| Run the current line or selection | Ctrl + Enter | ⌘ + Enter |
| Run the current cell or chunk | Ctrl + Shift + Enter | ⌘ + Shift + Enter |
| Run the current cell and move on | Shift + Enter | Shift + Enter |
| Run every cell | Ctrl + Alt + r | ⌘ + ⌥ + r |
| Insert a cell or chunk | Ctrl + Shift + I | ⌘ + Shift + I |
| Preview a Quarto document | Ctrl + Shift + K | ⌘ + Shift + K |
| Open the Command Palette | Ctrl + Shift + P | ⌘ + Shift + P |
| Clear the Console | Ctrl + l | ⌘ + l |
| Contextual help | F1 | F1 |
In a script with no cells in it, “run the current cell” has nothing to run, so that key runs the whole file instead.
The Variables pane lists every object in the active session, with its type and its value. Because it is tied to the session, not to the file, it shows the same objects whether you made them in a script, a notebook, or a Quarto chunk.
If the session has nothing in it, this pane is empty. That is usually the answer when a variable “disappears” – you restarted the session, or you are looking at a different one.
Click a data frame in the Variables pane and it opens in the Data Explorer: a sortable, filterable grid with a summary of each column down the left-hand side – type, how many values are missing, and a small distribution.
This is the pane with no equivalent in JupyterLab, and a much better one than RStudio’s View(). It is worth opening a data frame in it before you write a single line of code about that data frame.
You can also open one from the Console, the way you would in RStudio:
R Console
View(penguins)Plots from R and from Python both land in the Plots pane. It keeps a history, so the back and forward arrows walk through everything you have drawn this session, and there is a save button for writing one to a file.
# You don't have to understand what is going on in this cell,
# it is only to show you where a plot ends up.
set.seed(42)

N <- 50
x <- runif(N)
y <- runif(N)
cols <- round(runif(N) * 100)
area <- (2 * runif(N))**2

plot(x, y, cex = area, col = colors()[cols])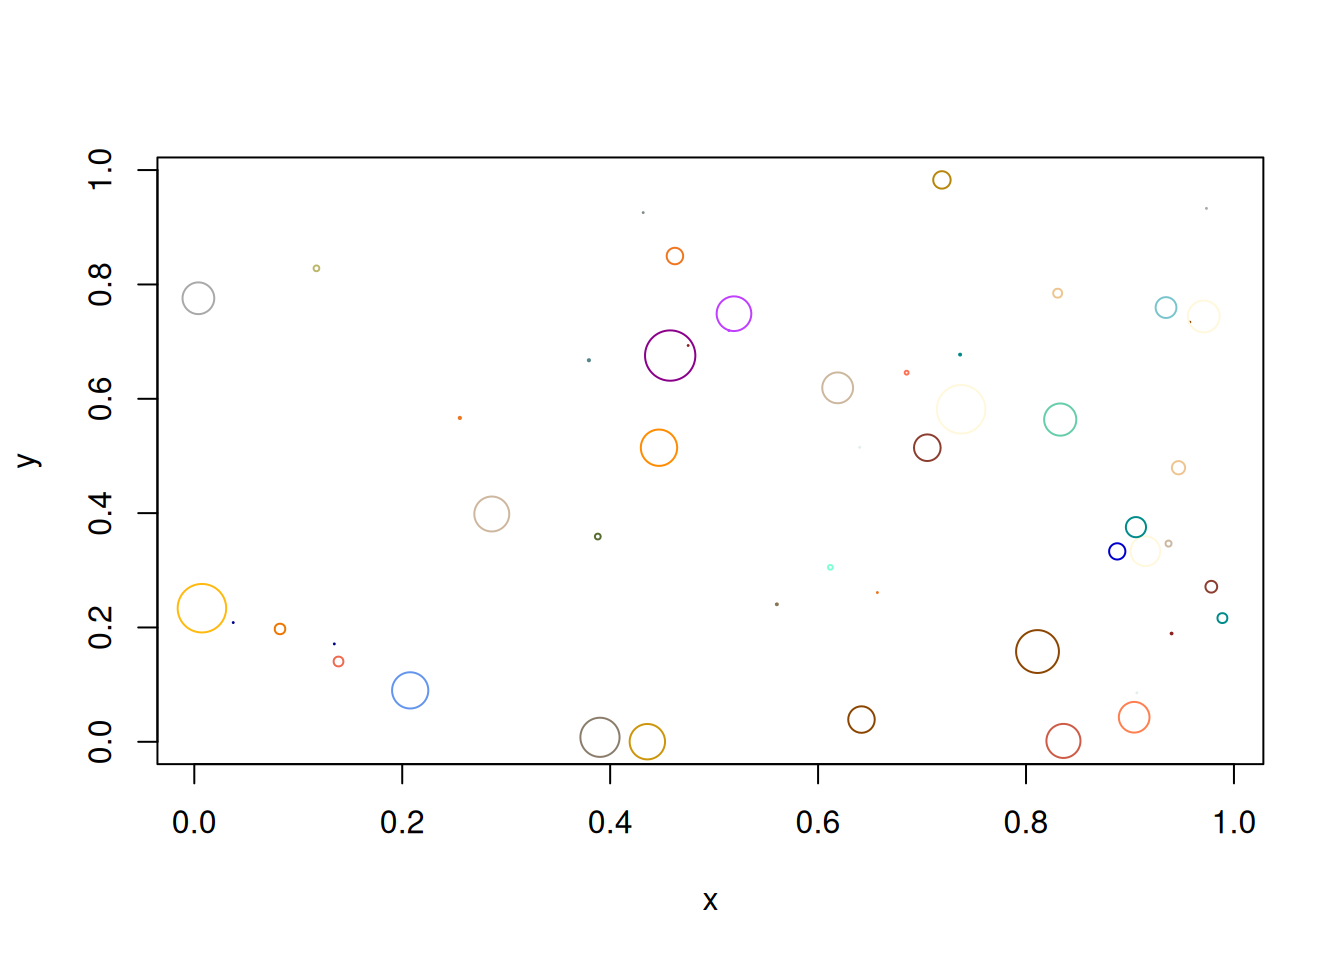
F1 with the cursor on a function name opens that function’s documentation in the Help pane. It works for both R and Python. You can also type ?mean in an R console or help(len) in a Python one, as you would anywhere else.
Positron also shows a signature and a short description as you type a function’s arguments, which is the equivalent of the Contextual Help panel in JupyterLab.
The Terminal shares the Panel with the Console, as a second tab. It is a normal shell, opened in the folder you opened, and it is where git, uv, and quarto commands go.
Keeping the distinction straight:
| Console | Terminal | |
|---|---|---|
| What is running | R or Python | Bash |
| What you type | 3 + 4, library(dplyr) |
git status, uv sync |
Needs uv run? |
No | Yes, for Python and Quarto commands |
Windows users in MDS, we installed Git Bash in your installation instructions. When you open a terminal in Positron, make sure you are using Git Bash terminal, not the Windows CMD or Powershell.
The same applies when you use the Windows Terminal application to load a terminal – make sure you are using Git Bash.
The Source Control view in the Activity Bar shows what has changed in the repository, lets you stage and commit, and shows a side-by-side diff of any changed file.
We will do all of this from the Terminal first, in Git, GitHub, and SSH, because understanding what the commands do is worth more than a button that does them for you. Come back to this pane once that has clicked.
If you remember one shortcut from this chapter, make it this one:
The Command Palette is a search box over every command in Positron. Rather than hunting through menus, you type roughly what you want and press Enter.
Some worth trying now:
| Type this | What it does |
|---|---|
Interpreter: Start New Console Session |
starts an R or Python session |
Interpreter: Restart Active Interpreter Session |
restarts the current one |
Workbench: Customize Layout... |
switches or resets the pane layout |
Preferences: Open Settings (UI) |
opens the settings editor |
Terminal: Create New Terminal |
opens a new shell in the Panel |
Quarto: Render |
renders the active Quarto document |
Positron leans on the Command Palette much more heavily than RStudio does. It is also how you discover what exists: open it, type a word like plot or git, and read what comes back.
Opening an assignment the right way
To practice opening a folder rather than a file, and to confirm that the interpreter Positron picked is the project’s own.
Make a folder to work in. In a terminal, create a folder called positron-practice and move into it:
Terminal
mkdir positron-practice
cd positron-practice
Give it an environment. Run uv init and then uv sync. This creates a pyproject.toml and a .venv directory, which is what an assignment folder will already have:
Terminal
uv init
uv sync
Open the folder in Positron.
Terminal
positron .Check the interpreter picker. Look in the top right. It should name a Python version and say .venv next to it. If it does not, click it and choose the .venv entry.
Prove the Console and Terminal are different. In the Console, type 3 + 4 and press Enter. In the Terminal, type uv run python -c "print(3 + 4)". Both print 7, by two quite different routes.
Now do it wrong, on purpose. Close the folder (File > Close Folder), then use File > Open File... to open only pyproject.toml. Look at the interpreter picker again.
uv run but the Terminal did. Why?Two settings are worth changing before you start, for the same reason as the recommended RStudio setup: so that turning it off and on again actually gives you a clean session.
Open the settings with Preferences: Open Settings (UI) from the Command Palette, then search for each setting by name.
Files: Auto Save -> set to afterDelay. Positron does not save your files as you type unless you ask it to. A rendered document that does not match what is on your screen is nearly always an unsaved file.
Workbench > Startup Editor -> set to none. This opens Positron on an empty window rather than on whatever you had open last, which keeps a stale file from a different assignment out of your way.
Do not install Microsoft’s Python or R extensions into Positron. Positron has its own, and Microsoft’s are not compatible with it. Positron’s extension marketplace is Open VSX rather than the Visual Studio Marketplace, so most of what you find in the Extensions view is safe – but if you go looking for a .vsix to install by hand, this is the one thing to avoid.
If you’re on a Mac, you may want to enable Native Tabs: https://lucasprag.com/posts/underrated-vscode-feature-native-tabs/ This way you can have multiple positron workspaces open in a tabbed window.
Sorry Windows / Linux :'(
Positron is built on the open source core of Visual Studio Code, so if you already know VS Code, your keybindings, your settings, and your muscle memory carry over.
VS Code is a general-purpose editor. It is very good, and plenty of people in this program keep it around for work that is not data analysis. Nothing in MDS requires it.
The reason it is not our default is that the data science parts are not in the box. Everything in this chapter that Positron does on its own, VS Code needs to be assembled to do:
| To get | In Positron | In VS Code |
|---|---|---|
| Python support | included | install the Python extension |
| Jupyter notebooks | included | install the Jupyter extension |
| R support | included | install the R extension, plus the languageserver R package |
| A usable R console | included | install radian and point the R extension at it |
| R plots in a pane | included | install the httpgd R package and enable it |
| A data frame viewer | Data Explorer | install Data Wrangler, which is a partial substitute |
| A variables pane | Session pane, always | only inside a notebook, via the Jupyter extension |
| Quarto | included, CLI bundled | install the Quarto extension |
Picking the project’s .venv |
offered on open | Python: Select Interpreter, by hand |
You can still use VSCode, it requires a bit more setup: four or five moving parts to keep updated, and a stack that behaves slightly differently on each of our machines.
If you want to set VS Code up anyway, the MDS installation instructions have an optional section for it with the extensions above listed out. Set up Positron first, get through the first few assignments with it, and treat VS Code as something to add later once you can tell the difference between a tool problem and a code problem.
Your Positron settings will not collide or modify your VSCode settings.