Lecture 2: Introduction & my goodness more git!
Learning objectives:
By the end of this lecture, students should be able to:
Create project boards using GitHub and link tasks to issues]
Create GitHub milestones to group related issues
Set-up main branch protection on a GitHub repository
Use branching and pull requests to propose changes to the main branch
Compare and contrast the Git and GitHub flow development workflows
Project boards
Example of a physical Kanban board:
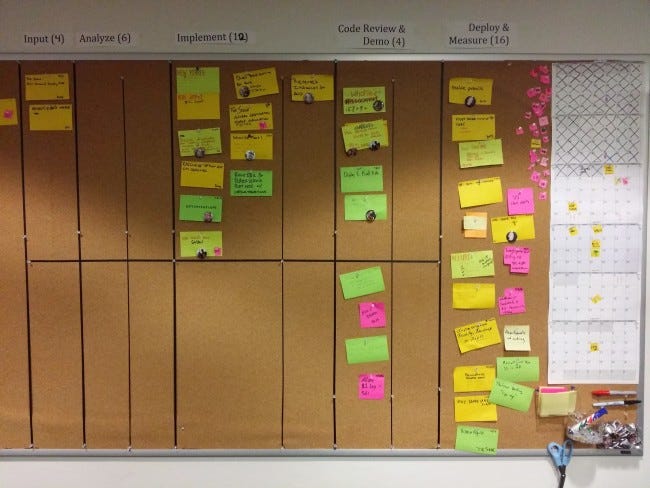
Source: https://medium.com/@mli/lets-get-physical-task-boards-f9d08383e667
Example of a digital project board from GitHub:
Reading: About project boards - GitHub Help
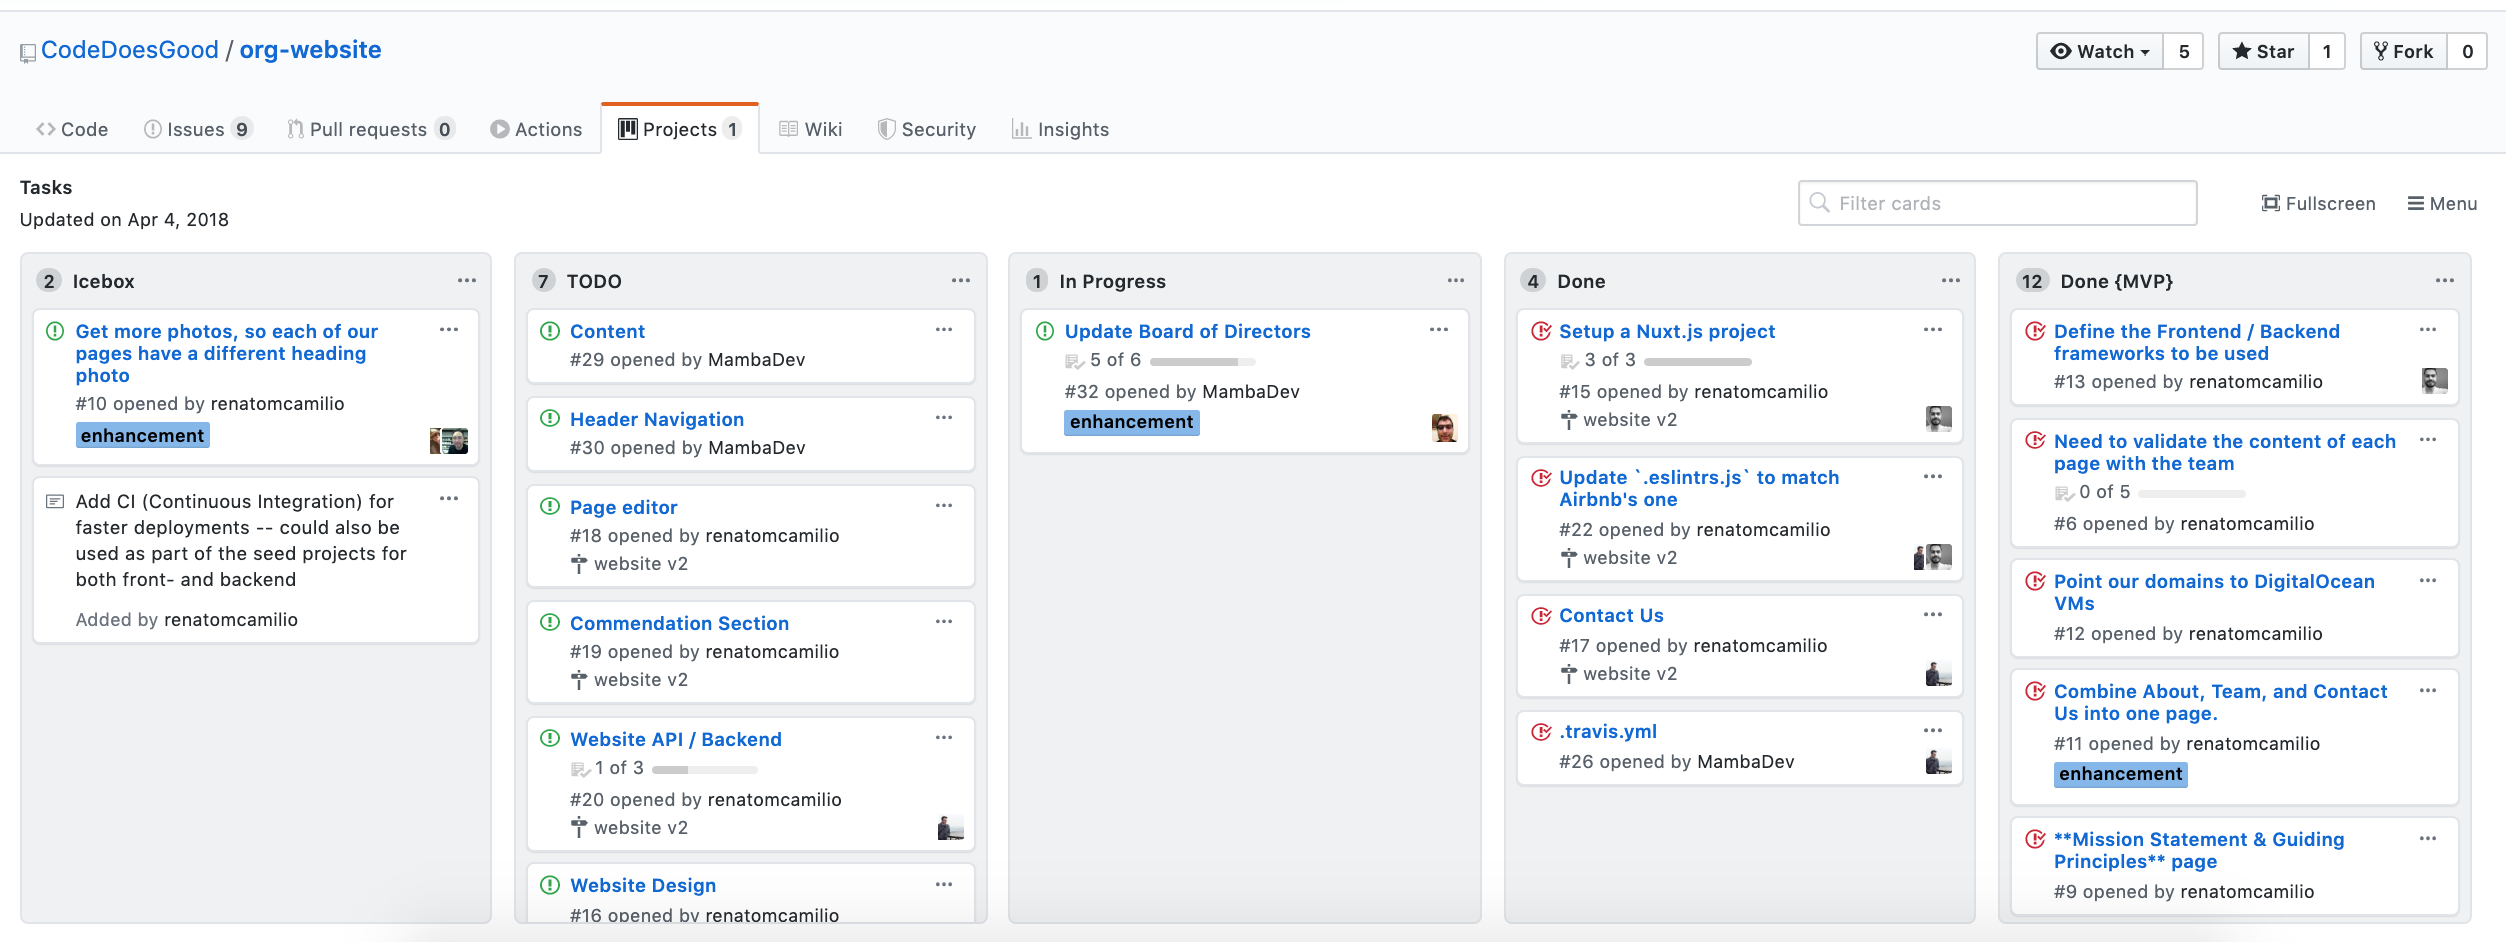
Source: https://github.com/CodeDoesGood/org-website/projects/1
Why use project boards for collaborative software projects?
Transparency: everyone knows what everyone is doing
Motivation: emphasis on task completion
Flexibility: board columns and tasks are customized to each project
Exercise: Getting to know GitHub project boards
We are going to each create our own project board for our MDS homework. I have set-up a template GitHub repository for you so that you can easily populate it with relevant issues for your homework this block. You will use these issues to create your MDS homework project board.
Steps:
Import a copy of this GitHub repository (need help? see: How to import a GitHub repository)
Using the GitHub webpage, make a new branch called
createin your copy of that repository (this will generate the issues for you).Click on the Projects tab, and then click “Create a project”. Give it a name, and select “Basic kanban” as the template option.
Use the issues in the repo to set-up a project board for the next two weeks (or more) of your MDS homework. For each issue you add to the project, assign it to yourself and add a label of “group-work” or “individual-work”.
Additional Resources:
Relevance to course project:
You will be expected to create a project board for each of your groups projects and update it each milestone (at a minimum)
We expect that each issue should have at least one person assigned to it
Milestones
Group related issues together that are needed to hit a given target (e.g., new release version of a software package)
Can assign a due date to a milestone
From the milestone page you can see list of statistics that are relevant to each milestone set in that repository
Reading: About milestones - GitHub Help
Example of the readr package milestones:

Source: https://github.com/tidyverse/readr/milestones
Exercise: Getting to know GitHub milestones
We are going to practice creating milestones and associating issues with them. To do this we will continue working with the same repository that you just created a project board for.
Steps:
Click on the Issues tab, and then click on “Milestones”.
Click “New milestone” and name it “week 1” and set the due date to be this Saturday. Click “Create milestone”.
Go to the Issues tab, and for each issue that should be associated with the week 1 milestone (i.e., things due this Saturday), open that issue and set the milestone for that issue as “week 1”.
Once you are done, go back to the Milestones page to view what the week 1 milestone looks like.
If you finish early, do this for week 2.
Relevance to course project:
You will be expected to create a milestone on each of your project repositories for each course assigned milestone. You must link the relevant issues needed to complete that milestone to it on GitHub.
Main branch protection
Once we have developed the first working version of our software (that will be the end of week 2 for us in this course), we want to consider our main branch as the deployment branch.
What do we mean by deployment branch? Here we mean that other people may be using and depending on it, and thus, if we push changes to main they must not break things!
How do I make sure changes won’t break things?
There are varying levels of checks and balances that can be put in place to do this. One fundamental practice is main branch protection. Here we essentially put a rule in place that no one can push directly to main, all changes to main must be sent via a pull request so that at least one entity (e.g., human) can check things over before the change gets applied to the main (i.e., deployment) branch.
Readings:
How to accept a pull request on a GitHub repository that has main branch protection
(note: at the time of video making, the default branch on GitHub as still called the master branch)
from IPython.display import YouTubeVideo
YouTubeVideo('kOE6b8zpfCY', width=854, height=480)
Exercise: Setting up main branch protection
We are going to practice setting up main branch protection. Once we set this up on our play repository linked to below, we will practice branching and pull requests to send changes to the main branch in a later exercise.
Steps:
Import a copy of this GitHub repository (need help? see: How to import a GitHub repository)
Add main branch protection to your copy of this repository (make sure you tick the box “Include administrators” to also apply this to folks with write access to the repo, i.e., you!).
Try to make a change by pushing directly to the main branch
Relevance to course project:
You are not required to use this for the project, but it can be useful on the job. Especially when you add new developers or maintainers to your GitHub repos.
Branching
In the past project courses, we worked primarily with a fork & pull-request workflow. This is a legitimate workflow and is usually the primary method by which we let new contributors start contributing to projects.
However, when working on your own project alone, or closely with a group of trusted contributors the preferred workflow is a branch & pull-request workflow.
Note - the key here is trust! In this model there is only one remote copy of the repository and all collaborators have access to all/most branches. Thus you have to be careful with what you do (i.e., never force push anything and use extreme caution if you must resort to burn it all down…).
What are branches in Git?
You can think of branches as independent lines of development within a single repository.

Useful Git branching commands
Description |
Command |
|---|---|
list all local branches |
|
create a new branch |
|
switch to a branch |
|
create a new branch & immediately switch to it |
|
fetches all changes to all branches |
|
retrieve a branch you don’t have locally on your laptop from GitHub |
|
merge changes from another branch |
|
delete a local branch |
|
push changes to a remote branch |
|
Useful things you can do with branches on GitHub
Create a new branch:
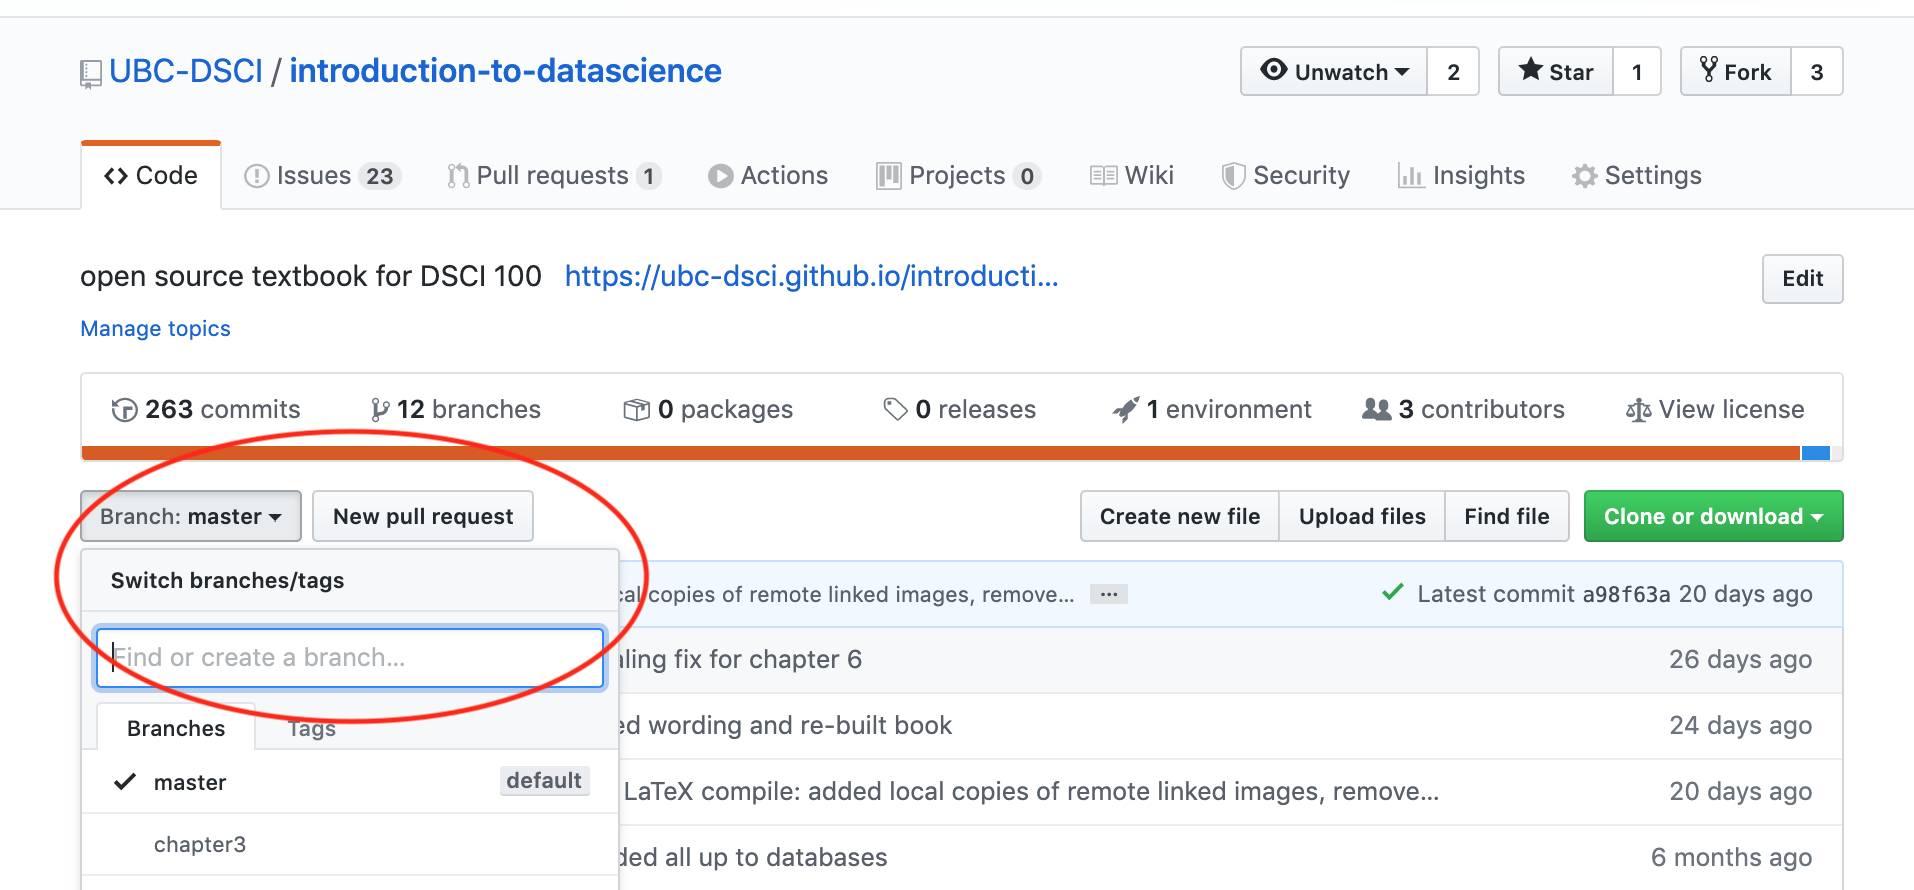
Source: https://github.com/UBC-DSCI/introduction-to-datascience
View all branches and their status:
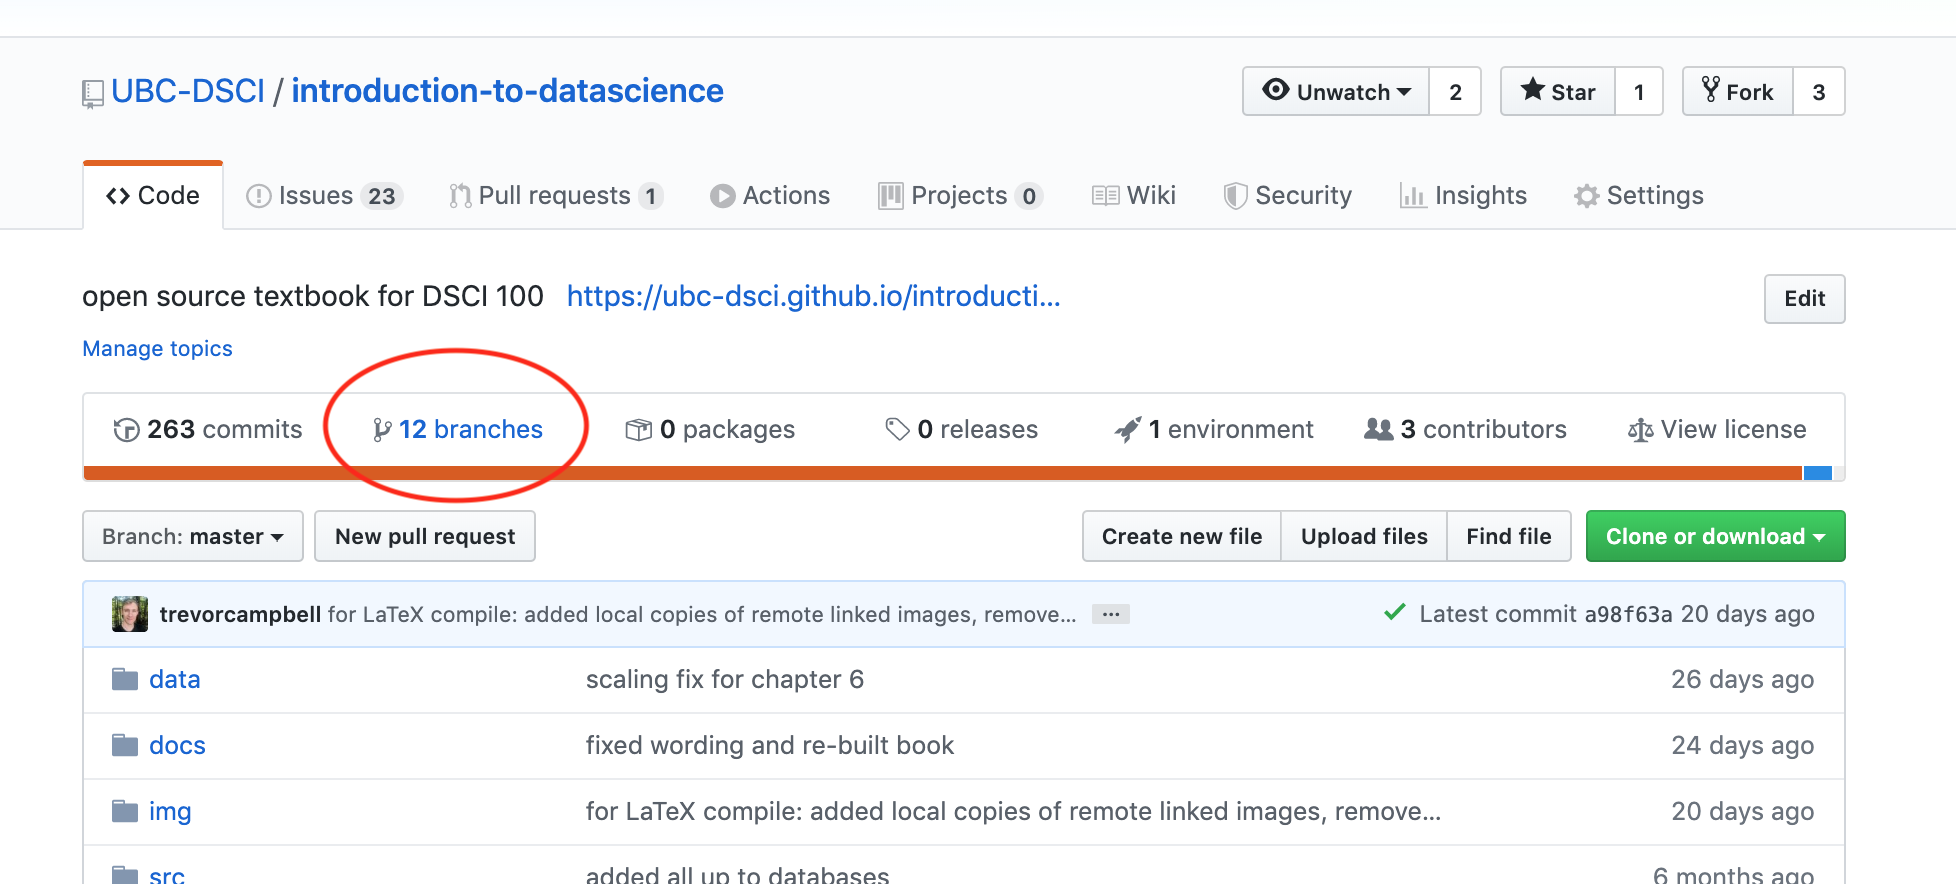
Source: https://github.com/UBC-DSCI/introduction-to-datascience
And delete remote branches:
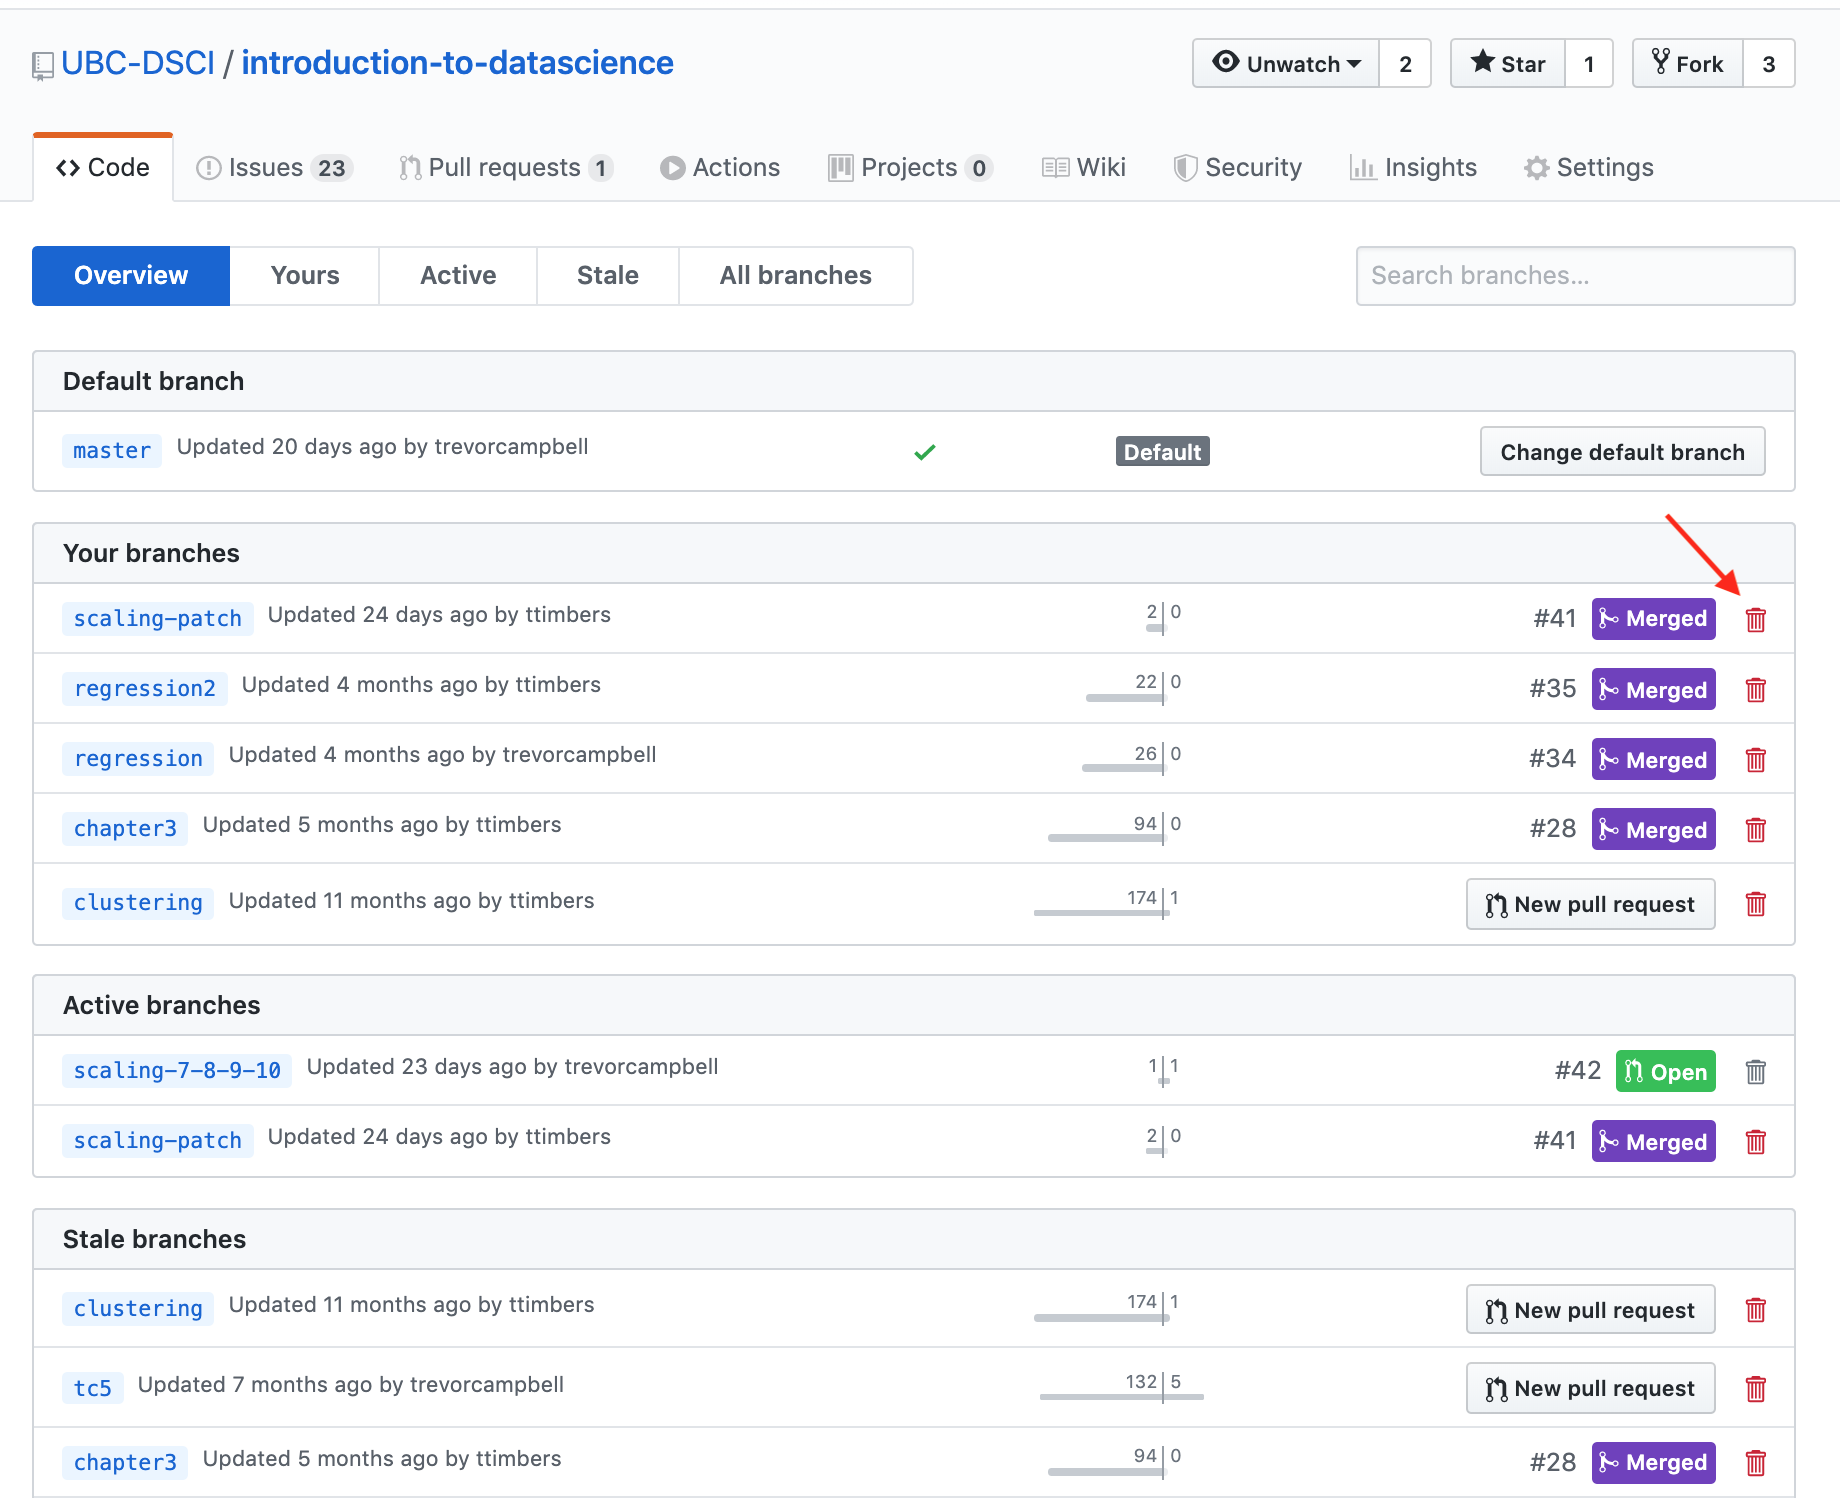
Source: https://github.com/UBC-DSCI/introduction-to-datascience/branches
Exercise: Branching and PR to send a change to main
We are going to practice using branching and pull requests to send changes to the main branch in a repository where we have set up main branch protection.
Steps:
Clone your copy of the
sqrtrepository (the one where you just set up main branch protection).Create and checkout a new branch named “better_error_msg” via
git checkout -b better_error_msg.On that branch, fix the
sqrt.pyso that if you run this script with a negative number as an argument you do not get an difficult to understand error, but instead throw an exception helpfulling informing the user that the number should be positive.Fix to add to
sqrt.py:if number < 0: raise Exception("n should not a positive number")
Push that the changes on the
better_error_msgbranch (viagit push origin better_error_msg) to GitHub and submit a pull request to the main branch to suggest your changes.Accept your own pull request to deploy the changes to main.
Relevance to course project:
You will be expected to work using a branch & pull-request workflow in your project repositories for this course.
Git and GitHub flow
Branching generally works well if a team agrees to and follows a consistent workflow. The two leading workflows used in industry are Git flow and GitHub flow. We will describe and discuss both here so you are aware of both, and we will employ GitHub flow in our projects for this course.
GitHub Flow
Key features:
A single “main” branch that also serves as the deployment branch, we call this main.
Every new contribution is done on a new branch (with a meaningful name) created from main.
Contributions from that new branch are sent back to main by means of a pull request, which ideally is reviewd & tested before merging.
(note: at the time this figure was made, the default branch on GitHub as still called the master branch)

Source: https://blog.programster.org/git-workflows
Git Flow
Key features:
Two “main” branches that last forever, main for deployment and develop where things are tested before they are released to main.
Three supporting branches: feature, release & hotfix. Both feature & release branches are created from develop. feature branches should be merged into develop before they are incorporated into a release. release branches eventually get merged into main after adequate review and testing.
(note: at the time this figure was made, the default branch on GitHub as still called the master branch)

Source: https://blog.programster.org/git-workflows
Discuss:
What do you think are pros & cons of each of these branching workflows?
Relevance to course project:
You will be expected to work using the GitHub flow workflow for your projects in this course. In Capstone, your group can decide for itself which branching workflow you want to use.
What happens when my feature branch falls behind main?
We experienced a similar issue when working with the fork & pull-request workflow in past projects, to catch up our fork to the source project’s fork. We had to do the following:
ensure the source project’s fork was set as upstream
run
git fetch upstreamto get the changesrun
git merge origin/mainto merge the changesrun
git push(which is short forgit push origin main) to push our changes to our fork’s remote
To catch up a branch that has fallen behind main we do the following:
run
git pull origin mainto pull any changes from the remote version of main that we might not haverun
git checkout <branch>to make sure we are on the branch we want to catch uprun
git merge mainto merge the changesrun
git push origin <branch>to push our updated branch to the remote